 Paul Zhang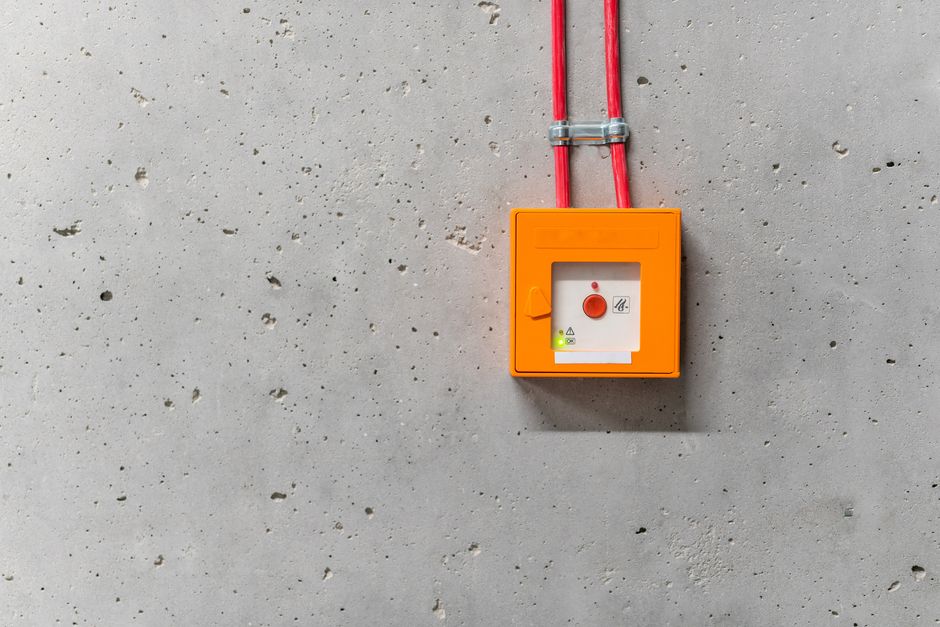
Three-way switches broke my brain the first time I encountered them. I’d been doing basic electrical work for a couple of years, felt reasonably confident, and then stared at a box with two black wires, a red wire, and a ground, completely baffled about why my hallway light kept staying on no matter which switch I flipped. That was 1998. I’ve wired probably a few hundred three-way circuits since then, and I still think the instructions that come with most switches are genuinely terrible.
Here’s what most guides won’t tell you upfront: three-way switches aren’t hard, but they require you to throw out almost everything you think you know about regular single-pole switches. The logic is different. The wiring is different. And the most common mistake, which I’ll explain in detail, isn’t a wiring mistake at all. It’s a labeling mistake that sends people in circles for hours.
What’s Actually Happening Inside a Three-Way Switch
Before you touch a single wire, you need to understand the mechanism, or you’ll just be copying a diagram without knowing why it works.
A standard single-pole switch is simple: it either completes the circuit (on) or breaks it (off). Two terminals. One wire in, one wire out. Done.
A three-way switch has three terminals. One is the “common” terminal, usually identified by a dark screw (black or dark bronze) or the word “COM” stamped on the switch body. The other two are “traveler” terminals, usually brass-colored. The switch is essentially a single-pole double-throw mechanism: the common terminal connects to either traveler 1 or traveler 2 depending on which position the toggle is in.
Now here’s the actual logic of the circuit. Power comes in, hits the common terminal of the first switch, and gets routed to one of two traveler wires running between the switches. At the second switch, whichever traveler wire is currently “hot” needs to connect to the common terminal of the second switch to send power on to the light. When both switches have their common terminals connected through the same traveler, the light turns on. Flip either switch and the path breaks.
This is why you can control one light from two locations. Neither switch is independently “on” or “off” in any permanent sense. They’re both just routing electricity through one of two possible paths.
Don’t skim that. Reread it if you need to. Understanding that principle will save you when things don’t go as planned.
What You’ll Need Before You Start
| Item | Recommended Model | Approximate Cost |
|---|---|---|
| Non-contact voltage tester | Klein Tools NCVT-1 | ~$20 |
| Non-contact voltage tester | Fluke 1AC-A1-II | ~$15 |
| Wire stripper | Irwin 2078300 | $12 |
| Wire connectors | Wago 221 series | ~$0.50 each |
| Three-way switch | Leviton 5603 | ~$8 each |
| Three-way switch | Lutron Claro CS-3PS | ~$14 each |
I’ll be honest: most DIY electrical articles undersell the tools you actually need. You can get by without some things, but a few are genuinely non-negotiable.
Non-negotiable: a non-contact voltage tester. Something like the Klein Tools NCVT-1 ($20) or Fluke 1AC-A1-II ($15). You will not work on this circuit without confirming the power is off. Not once. Not quickly. Every single time before you touch a wire.
A wire stripper that’s actually calibrated for 12 and 14 gauge wire. The Irwin 2078300 is $12 and works well. Using the wrong notch and nicking the copper is one of the most common causes of connection failures I see on callbacks.
Beyond that, you’ll want flathead and Phillips screwdrivers (a 4-in-1 is fine), needle-nose pliers, a headlamp instead of a flashlight so your hands are free, and wire nuts or push-in connectors (Wago 221 series if you want the best ones, about $0.50 each).
The switches themselves matter. Buy a legitimate brand. Leviton 5603 ($8 each) or Lutron Claro CS-3PS ($14 each) are my go-to recommendations. Don’t buy the $3.50 pack at the clearance end-cap. Three-way switches are already confusing without dealing with poorly labeled terminals.
The Cable Situation: This Is Where It Gets Real
This part is where most tutorials either gloss over or get genuinely confusing. The wiring varies based on where power enters the circuit. There are two common scenarios.
Power enters at the first switch (switch-to-switch-to-light). This is the most beginner-friendly layout. You’ll see a 2-wire cable (black, white, ground) coming in from the panel, a 3-wire cable (black, red, white, ground) running between the two switches, and a 2-wire cable running from the second switch to the light.
Power enters at the light (light-to-switch-to-switch). Harder. The power comes in at the ceiling fixture first, drops down to one switch, then continues to the second. This requires repurposing the white wire as a hot conductor in at least one location, which is legal if you mark it with black tape but confuses a lot of people on the receiving end.
What surprised me years ago is how often older homes have a third option nobody talks about: power comes in at one switch, the light is in the middle of the run, and the second switch is at the other end. This is called a “California three-way” configuration in some regions and it requires handling things differently. If your existing wiring doesn’t match either of the two diagrams above, stop and call an electrician. Misidentifying your configuration is how you end up with a light that’s on all the time or, worse, a hidden short.
Wiring It Step by Step (Power-at-First-Switch Configuration)
I’m walking through the most common scenario: power comes in at Switch Box 1, a 3-wire cable runs between the two switch boxes, and a 2-wire cable continues from Switch Box 2 to the light.
Step 1: Kill the power. Go to your panel and turn off the breaker. Then come back and test with your voltage tester. Test again. I know people who’ve been shocked because they hit the wrong breaker. It happens.
Step 2: Remove the old switches (if replacing) and photograph everything. Take three photos from different angles before you disconnect anything. Do it even if you think you’ll remember. You won’t.
Step 3: Wire Switch 1. In this box you have the incoming 2-wire cable (power from panel) and the outgoing 3-wire cable (going to Switch 2).
Connect the black wire from the panel to the common terminal (dark screw) on Switch 1. This is your incoming hot.
The red wire and the black wire from the 3-wire cable are your travelers. Connect one to each brass traveler terminal on Switch 1. It doesn’t matter which traveler wire goes to which traveler terminal here. Seriously. The travelers are interchangeable at this end.
The white wires from both cables get wire-nutted together. They’re both neutrals and don’t touch the switch at all.
The grounds (bare copper or green) get pigtailed together and connected to the ground screw on the switch and to the box ground if it’s metal.
Step 4: Wire Switch 2. In this box you have the 3-wire cable arriving from Switch 1 and a 2-wire cable going to the light.
The black wire from the 2-wire cable (going to the light) connects to the common terminal (dark screw) on Switch 2.
The red and black wires from the 3-wire cable connect to the two brass traveler terminals. Again, either wire to either traveler terminal.
The white wires from both cables get wire-nutted together.
Grounds get pigtailed together and connected to the switch.
Step 5: Wire the light fixture. Black wire from the 2-wire cable connects to the black (hot) wire on the fixture. White to white (neutral). Ground to ground. Nothing new here.
Step 6: Test before you close everything up. Turn the breaker back on. Try each switch. The light should turn on and off from both locations in any combination of toggle positions. If it doesn’t, check the troubleshooting section below.
When It Doesn’t Work: The Most Common Mistakes
The number one problem I see: the common terminal got a traveler wire instead of the right wire. It’s very easy to do because on some Leviton switches the common is at the top and on others it’s at the bottom, and the color coding isn’t always obvious. Double-check with a continuity tester or ohmmeter before powering up if you’re unsure.
The second most common: the white wire in the 3-wire cable got used as a traveler but wasn’t marked with black tape. This creates confusion when troubleshooting later. Wrap it with a piece of black electrical tape at both ends anywhere the white wire is carrying a hot signal. It’s code in most jurisdictions (NEC 200.7) and it’ll save whoever comes after you.
Third: mixing up which switch configuration you actually have. If your light has two cables coming into the fixture box instead of one, you’re probably dealing with a more complex configuration and the standard diagram won’t work cleanly.
Should You DIY This or Hire Someone?
Sources
I’ll be honest here. If you’re in a newer home (post-1985), have metal or plastic junction boxes with proper grounding, and can confirm which cable configuration you have, this is a reasonable beginner project. The actual wiring takes about 45 minutes once you understand the logic.
If you have aluminum wiring (common in homes built between 1965 and 1973, identifiable by the silver-colored wire and the “AL” marking on the cable jacket), stop. Aluminum wiring requires special devices rated for aluminum and antioxidant compound. This is a hire-a-pro situation without question.
If your boxes have four or five cables in them and you can’t figure out which goes where, call an electrician. You’ll pay $100 to $200 to diagnose and rewire a three-way switch in a confusing configuration. That’s cheap compared to a fire or a failed inspection.
Photo: Jakub Zerdzicki via Pexels





