 Maria Gonzalez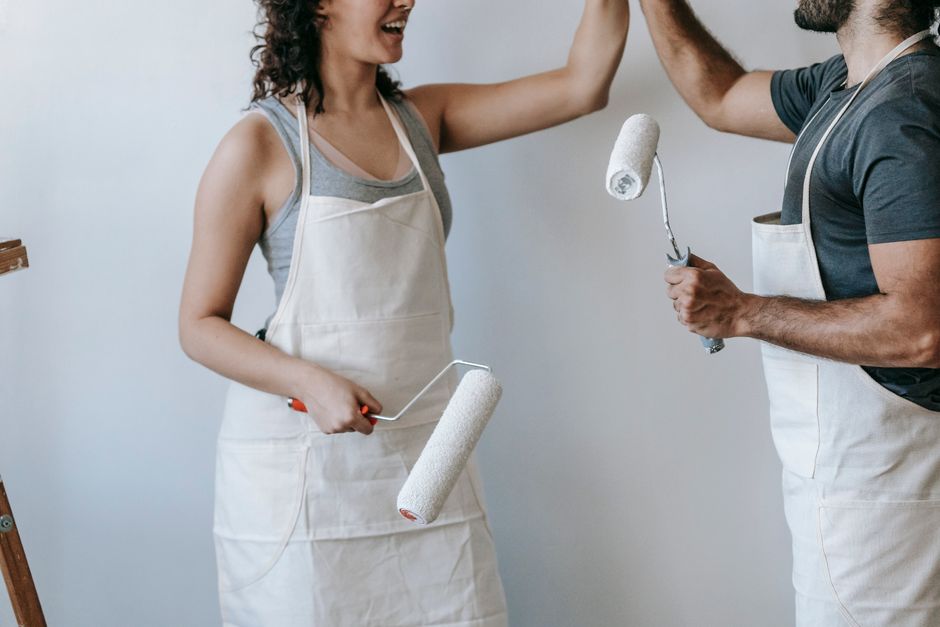
Most touch-up paint jobs look worse than the original damage. I spent years telling homeowners “just dab it on and feather the edges” before I finally understood why that advice produces ghostly patches and mismatched sheen on practically every wall it gets tried on. The problem isn’t technique, at least not entirely. The problem is that most people don’t know what they’re actually fighting against.
There are three separate enemies here: color shift, sheen mismatch, and texture difference. Fix all three and the touch-up vanishes. Miss any one of them and you’ll see it from across the room, usually in raking light at about 4pm when the sun cuts low through a window.
Why Touch-Ups Fail (The Part Nobody Explains)
| Issue | Cause | Visual Sign | Solution |
|---|---|---|---|
| Color Shift | Paint oxidation & UV exposure | Patch color noticeably different from wall | Use original paint or spectrophotometer match |
| Sheen Mismatch | Fresh paint higher gloss than cured wall paint | “Wet spot” that never dries (flashing) | Extend coverage 12-18", apply thin coats, scuff and recoat if needed |
| Texture Difference | Brush applied over roller texture | Smooth island visible in raking light | Use foam roller with matching nap size (3/8" or 1/2") |
| Adhesion Problems | Grease, dust, skin oil on surface | Color variation and poor bond | Clean with damp soapy rag, dry completely before painting |
Paint ages. Even sealed in the can, the formula oxidizes slightly. On your wall, it’s been exposed to UV, humidity, cooking vapors, and whatever life happens in your house. The sheen flattens. The color shifts, sometimes warm, sometimes cool, depending on the pigments involved. Titanium white stays relatively stable. Organic pigments, some reds and yellows especially, drift noticeably in a year or two.
What surprised me was how much the sheen factor dominates. You can nail the color perfectly and still see a coin-shaped patch if the gloss levels don’t match. Fresh paint off a brush or roller has a slightly higher sheen than cured paint on the wall. That difference reads as a “wet spot” that never seems to dry. This is called “flashing” and it’s the number one complaint I hear from homeowners who tried to do their own touch-ups.
The texture thing is subtler but equally brutal in raking light. Roller texture, the slight stipple that comes from a standard 3/8" nap roller, has a pattern. Brush it in with a bristle brush and you’ve created a smooth island in a textured sea. Your eye finds it immediately.
Start With the Right Paint
Ideally, you saved the original paint. If you have a labeled can from the original job, that’s your best-case scenario. But open it and look. If there’s a rubbery skin on top, skim it off carefully. If it smells sour or has chunks that won’t break up when stirred, it’s dead. Toss it. Don’t try to use it hoping for the best. I’ve watched homeowners apply curdled paint to a wall and it dries blotchy every single time.
If you don’t have the original paint, you’ve got two options. First, check if the color is a standard formula. Many builders use stock colors like Sherwin-Williams Accessible Beige (SW 7036) or Benjamin Moore Chantilly Lace (OC-65). Any store can remix it if you know the brand and color name. Second, take a chip. Most paint stores, Benjamin Moore dealers especially, have spectrophotometers that can read a painted chip and match it with reasonable accuracy. Cut a 2x2 inch piece of drywall or scrape a chip off an inconspicuous spot behind a door. The match won’t be perfect because of the aging issue, but it gets you close.
One thing I’d skip: the $6 oops cans at the hardware store. I know the temptation. But unless you got incredibly lucky, that color doesn’t match your wall, and the sheen is often wrong too.
The Feathering Technique, Done Right
Here’s the actual method, worked out over a lot of trial and error.
Clean the spot first. Grease, dust, and skin oil all cause adhesion problems and color variation. A damp rag with a little dish soap, rinsed clean, then let it dry completely. I mean completely. Wait an hour if you need to.
If you’re patching a hole, get the patch fully primed and cured before touching paint. Raw joint compound sucks paint in differently than the surrounding drywall that’s been painted several times over. A single coat of Zinsser BIN or even regular latex primer seals it. Let it cure overnight.
Now, don’t use a brush if the original wall has roller texture. Use a small foam roller, the 4-inch size works well for most patches, with a nap that matches whatever was used on the walls. Standard smooth drywall: 3/8" nap. Slightly textured: 1/2" nap. Load it lightly. You want thin coats that blend out past the damaged area into the surrounding paint.
The key is extending your coverage. Don’t just cover the patch. Roll an area at least 12 to 18 inches in every direction from the damage, with gradually decreasing paint coverage as you get farther out. This creates a gradual transition in sheen rather than a hard edge. Two thin coats beats one thick coat every time.
After it’s dry, look at it in raking light, meaning position yourself so light hits the wall at a low angle. If you still see flashing, lightly scuff the entire touched-up area with 220-grit sandpaper, blow off the dust, and apply one more very thin coat with a nearly-dry roller.
The Sheen Problem Deserves Its Own Fix
If you’ve done everything right and the patch still flashes, the sheen of your touch-up paint is off from the wall. This happens even with the same formula if the wall paint has aged significantly.
A couple of things help here. Some painters add a very small amount of paint conditioner, Floetrol for latex, to the touch-up paint. It slows the dry time and reduces brush and roller marks, which can minimize the texture differential. Don’t overdo it: a tablespoon per quart is plenty.
There’s also a trick I picked up from a finishing carpenter who does high-end repaint work. After the touch-up is fully cured (24 to 48 hours), take a clean roller loaded with nothing but water, barely damp, and lightly roll over the transition area. It sounds crazy. What it does is slightly normalize the sheen by picking up just a trace of the dried paint surface. I was skeptical the first time I saw it. It actually works on eggshell and satin finishes, though I wouldn’t try it on flat paint.
For flat paint, you’re in luck. Flat hides sheen variation better than any other finish, which is one of the reasons it’s so popular in new construction where touch-ups are expected. If you’re working in a bedroom with flat paint, the tolerance for imperfection is much higher.
When to Repaint the Whole Wall
Sources
Sometimes the honest answer is that a touch-up won’t work. If the wall paint is more than eight years old, has been repainted over several different products, or the original color is significantly faded from sun exposure, no amount of careful technique will make a small patch disappear. You’re better off repainting the entire wall, floor to ceiling, corner to corner.
A full wall repaint on an average 10x12 room runs $200 to $400 in materials if you’re DIYing it, or $600 to $900 for a professional painter in most Midwest and Southeast markets. On the coasts, add 30 to 50 percent. That sounds like a lot compared to dabbing on a little touch-up paint, but it’s the right answer when the wall has aged past the point where spot repairs are invisible.
I’ve talked homeowners out of touch-ups and into full repaints when the situation called for it. It’s not about upselling work. A bad touch-up that screams at you every time you walk in the room is worse than the original damage.
The difference between a touch-up that’s invisible and one that bugs you for the next five years mostly comes down to patience at each step: letting things dry, applying thin coats, and being willing to repaint the whole wall when the situation has moved past what a touch-up can fix. That last part is the hardest for people to accept. It was hard for me too, for a while.
Photo: Blue Bird via Pexels





