 Paul Zhang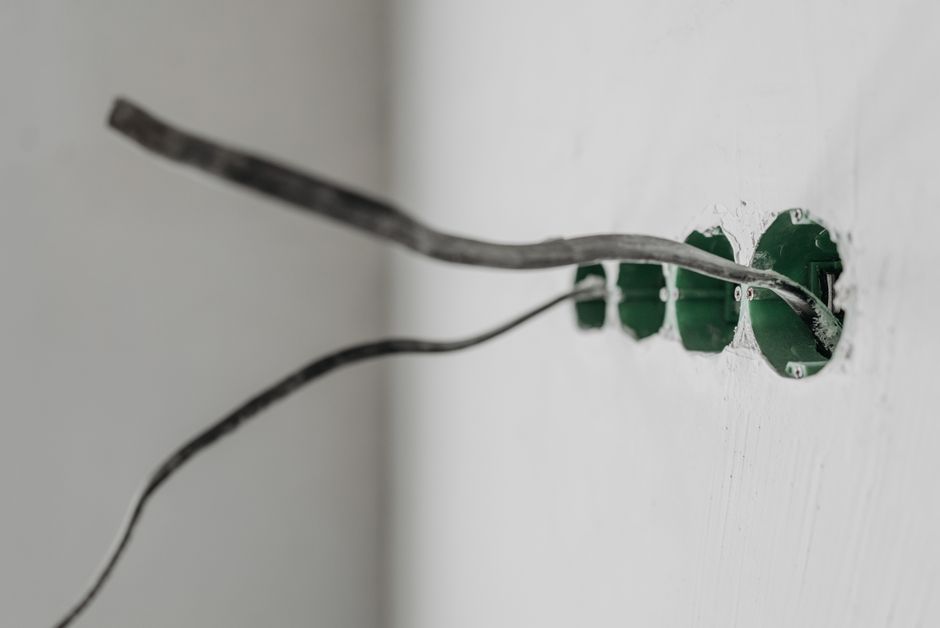
Your heating bill goes up every winter and you’ve already checked the obvious stuff: weatherstripping around the doors, caulk around the windows, maybe even added attic insulation. But there’s a category of air leak that almost everyone misses, and it’s responsible for more draft infiltration than most people expect. Electrical outlets and switches on exterior walls are essentially holes punched straight through your wall cavity, and in most homes built before 2010 or so, they’re sealed with nothing but the cover plate and a thin plastic box.
You might be wondering how bad it actually is. Here’s what I tell people: hold the back of your hand near an exterior outlet on a cold, windy day. If you feel anything at all, you’re losing conditioned air year-round, not just in winter. In a typical house, unsealed outlets and switches can account for anywhere from 5 to 20 percent of total air infiltration. That’s a real number. The fix costs about $15 in materials and a Saturday afternoon.
Why Outlets Are Such a Problem
Electricians drill holes. That’s their job. A wire going from your panel to an outlet in an exterior wall has to pass through the top or bottom plate (sometimes both), and those holes are almost never sealed. The wire just passes through, leaving a gap around it that connects your living space directly to the wall cavity, which connects to your attic or crawlspace, which connects to outside air. Standard electrical boxes aren’t airtight either. They have knockouts, gaps around the cable clamps, and in older homes sometimes just open holes in the back where the box meets the drywall.
The cover plate sits flush against the wall but doesn’t actually seal anything. Most people assume it does. It doesn’t.
Cold air finds the path of least resistance. In winter, exterior wall cavities get very cold, and that cold air migrates inward through every gap it can find. Outlets and switches on those walls are essentially little vents. You’ve probably noticed that some outlets feel colder than others when you’re near them, or that switch plates get cold to the touch. That’s exactly what’s happening.
What You Need Before You Start
| Product Type | Cost Per Unit | Quantity Per Pack | Total House Cost | Installation Time Per Outlet |
|---|---|---|---|---|
| Foam gaskets | $5-$8 | 10 | $25-$40 | ~90 seconds |
| Low-expansion spray foam | Varies | Single can | Additional $10-$15 | 5-10 minutes per box |
| Acoustical sealant | Varies | Single tube | Additional $8-$12 | 10-15 minutes per box |
The two main products you’re choosing between are foam gaskets and caulk/spray foam applied from inside the box. Both work. Here’s my actual recommendation: use gaskets first, and if you have particularly leaky boxes or gaps where the box meets the drywall, add a little low-expansion spray foam or acoustical sealant around the perimeter.
Foam gaskets (sometimes sold as “outlet sealers” or “draft stop gaskets”) run about $5 to $8 for a pack of 10 at any hardware store. Duck Brand and Frost King both make decent ones. They’re pre-cut polyethylene foam that slips behind your outlet or switch cover plate. Takes about 90 seconds per outlet. For a whole house, you’re looking at $25 to $40 in materials total.
Low-expansion spray foam like Great Stuff Gaps and Cracks is useful for sealing around the cable entries in the back of the box, but don’t use the regular “big gap” formula inside an electrical box. It expands too aggressively and can make future work difficult. Acoustical sealant (Tremco or OSI Firestop are both good) is a better choice where you need to seal inside the box around wires, because it stays flexible and doesn’t harden into a brick.
You’ll also want a flathead or Phillips screwdriver, a non-contact voltage tester ($15 at any hardware store, worth every cent), and some painter’s tape to label which breaker controls which outlet if you’re not sure.
The Step-by-Step Fix
Start by turning off the breaker. This matters even for switch plates, because you’ll be working near live parts if you don’t. Use your non-contact voltage tester to confirm the outlet is actually dead before you put your hands near it. Don’t skip this.
Remove the cover plate screw (usually just one in the center) and pull the plate off. For outlets, you’ll see the foam gasket you’re about to install sits between the plate and the wall surface. Take your pre-cut gasket, line up the cutouts with the outlet holes, and set it in place. Reattach the cover plate. Done. Seriously, that’s the whole job for most outlets.
For switches, same process. The gaskets come in outlet configurations and switch configurations, so buy a variety pack if your house has both.
Where it gets slightly more involved is when the electrical box itself has visible gaps around it. Look at where the box meets the drywall. If there’s a gap of more than about 1/8 inch, that’s worth addressing. With the cover plate off, apply a thin bead of acoustical sealant around the perimeter of the box where it meets the drywall. Smooth it with a gloved finger, let it skin over for 20 minutes, and reinstall the plate. The sealant won’t harden, so it won’t crack when the house moves seasonally.
For truly leaky boxes (you can actually feel air movement around the cable entries at the back), here’s what I do: with the breaker off and the outlet confirmed dead, use the voltage tester again, then apply a small amount of low-expansion spray foam into the gaps around where the cables enter the box. A straw applicator gives you control. You’re not filling the box, just sealing the penetrations. Let it cure fully before restoring power.
One thing I want to flag: if you have old two-prong ungrounded outlets, aluminum wiring, or anything that looks unfamiliar when you open that cover plate, call an electrician before you do anything else. You can still do the sealing work, but get the wiring looked at first.
A Contrarian Take Worth Making
Most weatherization guides tell you to seal outlets on interior walls too, as part of a whole-house air sealing approach. The logic is that interior walls can also connect to unconditioned spaces through top and bottom plates. I’ve done this professionally. My honest opinion: prioritize exterior walls first, and only bother with interior walls if you’ve already handled the exterior ones and still have a draft problem.
Interior wall outlets add maybe 10 to 15 minutes of work per outlet and cost nothing extra if you bought a variety pack of gaskets. So I’m not saying skip them entirely. I’m saying if you’re doing a Saturday project and you’ve got 40 outlets and switches in your house, start with the ones on walls that back up to outside or to garages. Those are doing the most damage.
What This Actually Saves You
Sources
I’ll give you real numbers rather than vague promises. A typical 2,000 square foot house in a climate like Chicago or Minneapolis, where the heating season is long and cold, might spend $1,800 to $2,400 a year on gas heat. Air sealing across the whole house (outlets, attic bypasses, rim joists, the works) can realistically cut that by 15 to 25 percent. Outlets alone won’t get you there, but they’re one of the cheapest interventions in the whole toolkit.
If you’re spending $25 on foam gaskets and two hours of your time, and you reduce your infiltration meaningfully, payback is essentially immediate. You’re not looking at a 7-year payback period like you might with new windows. This stuff pays back in the first winter.
Photo: Pavel Danilyuk via Pexels





