 Paul Zhang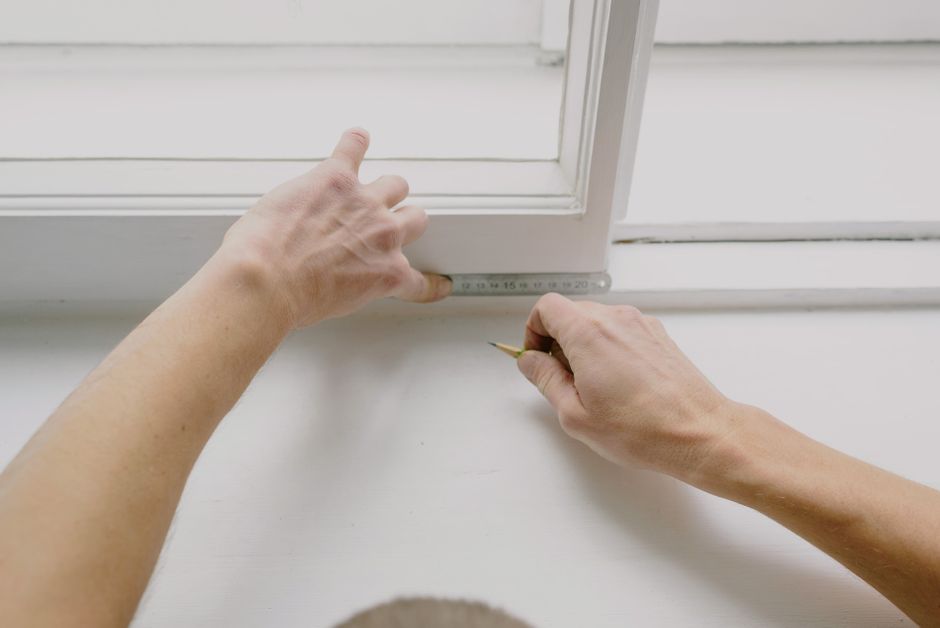
Most homeowners don’t discover their weatherstripping is shot until they’re standing inside on a cold January morning and can feel the draft coming right through a closed door. I’ll be honest: I ignored mine for about two years that way, assuming the fix was complicated or expensive enough to push to “someday.” Then I finally pulled the door back and looked at what I was actually dealing with. The whole job took me 47 minutes and cost $23.
What surprised me was how many different types of weatherstripping exist, and how badly most hardware store signage guides you toward the wrong one. Foam tape from the discount bin, for example, compresses permanently within a season and basically stops working. Yet it’s what most people grab first because it’s cheap and looks right. I’ve done enough door repairs on other people’s houses to know this is probably the single most common weatherstripping mistake homeowners make.
The good news: replacing weatherstripping is genuinely a DIY job for most door types. No special tools, no permits, no subcontractors. The only real skill is patience and getting the right material for your specific door situation.
- Full weatherstripping replacement typically costs $15-60 in materials and takes under 2 hours.
- Foam tape fails within 1-2 seasons; V-strip or door sweeps last 5-10 years with proper installation.
- Measure the gap between door and frame before buying, different gaps need different weatherstripping profiles.
- Bottom of the door (the sweep) is almost always the worst leak point and should be replaced first.
- As of July 2026, a contractor-installed replacement runs $75-$175 per door depending on your region.
What Type of Weatherstripping Do You Actually Need?
This is where most guides skip straight to “buy foam tape and stick it on,” which is why so many people end up doing this job twice. The type you need depends on where you’re sealing and how big the gap is.
The door frame sides and top (the “doorstop” area) are best handled with either V-strip (also called tension seal), felt, or foam with a backing. V-strip is my go-to for wood doors with small-to-medium gaps. It’s a folded strip of plastic or metal that presses open against two surfaces simultaneously, and it holds up well. 3M makes a version (their Heavy Duty Weatherstrip Seal, around $8-12 for a 10-foot roll) that I’ve had solid luck with. The real test is whether the strip can compress enough to seal without creating so much drag that the door won’t latch properly.
The door bottom is a different animal. A door sweep mounts directly to the bottom edge of the door itself. Pemko and M-D Building Products both make quality automatic door bottoms (these lift as the door opens, drop as it closes) for around $28-45. If your bottom gap is big, like more than 3/8 of an inch, you want an automatic bottom rather than a simple brush sweep. A reader emailed me last spring about a sliding draft under her 1960s ranch-style door, and what she’d missed was that the door had settled and the gap at one corner was nearly 5/8 inch, a sweep alone wasn’t going to cut it.
Door thresholds are the underside piece the sweep presses against. If yours is worn, pitted, or cracked, replace it at the same time or the new sweep won’t seal cleanly.
Weatherstripping Types and Costs at a Glance
| Type | Best Location | Expected Lifespan | Approximate Cost (per door) | DIY Difficulty |
|---|---|---|---|---|
| Foam tape (adhesive-backed) | Low-traffic doors, windows | 1-2 seasons | $4-9 | Very easy |
| V-strip (tension seal) | Door frame sides, top | 5-10 years | $8-15 | Easy |
| Door sweep (stick-on) | Door bottom, light use | 2-4 years | $10-18 | Easy |
| Door sweep (screw-on) | Door bottom, heavy use | 5-8 years | $14-30 | Easy-moderate |
| Automatic door bottom | Door bottom, large gaps | 7-12 years | $28-65 | Moderate |
| Bulb seal (compression) | Entry doors, exterior | 5-10 years | $12-25 | Moderate |
| Pile weatherstrip | Sliding doors, garage | 3-6 years | $10-20 | Easy |
Current pricing as of July 2026 at Home Depot, Lowe’s, and Amazon. Labor for contractor installation adds roughly $50-120 per door depending on your market.
The Actual Replacement Process
Let me walk through a standard exterior entry door, which is what most people are dealing with. You’ll need a utility knife, a pry bar (or stiff putty knife), a measuring tape, scissors or snips, and a screwdriver if you’re doing the bottom sweep.
Start by removing what’s there. Old adhesive-backed foam usually peels off, though it leaves a sticky residue. Goo Gone or naphtha on a rag cleans that up, and it’s worth doing right, new weatherstripping won’t adhere properly over old adhesive. V-strip that’s nailed or stapled in a channel requires a thin pry bar to pop out. Take your time here. Tearing the doorstop wood trying to rush this step is how a 45-minute job turns into a woodworking project.
Measure the two side jambs and the top. Add about 2 inches to each measurement and cut long, then trim to fit. For V-strip, you want a clean miter at the top corners where the pieces meet. If you’re not confident with angles, cut the sides flush to the top of the side jambs first, then lay the top piece over them.
For the doorstop channel (most modern exterior doors have a routed groove), you’re pressing the new bulb seal in by hand, starting at a corner and working your way around. The satisfying click you feel when it seats is real, if you’re not feeling any resistance at all, the profile might be wrong for your channel width. Worth knowing: the most common channel widths are 3/16" and 5/16", and mixing them up is a mistake I made on my first door. The seal just falls out when the door closes.
The bottom sweep goes on last. With a screw-on sweep, close the door, hold the sweep snug against the threshold with light pressure (not compressing it hard), and mark your screw holes. Drill pilot holes first, especially on hollow-core doors where the bottom rail can be narrow. I’ve seen screws go right through the face of a door bottom rail that was only 3/4 inch wide. Pilot holes avoid that.
Work through the full perimeter, close the door, and run your hand along the edge. You’ll feel immediately if there’s still a gap somewhere. On an old wood door that’s racked or warped, you might not get a perfect seal everywhere without also adjusting the hinges or strike plate, but that’s a separate job.
A useful comparison: Typical scenario on a 1970s exterior wood door, full perimeter foam tape replacement done every two years costs roughly $9 x 10 years = $90 over a decade with constant redoing. Switching to V-strip sides plus a screw-on sweep averages $38 total, lasts 7+ years, and insulates better. The energy math matters too: according to the U.S. Department of Energy, drafts around doors and windows can account for 25-30% of heating and cooling losses in older homes.
When to Call a Pro
If the door itself is badly warped, the frame is rotted, or the threshold has heaved (common in freeze-thaw climates), weatherstripping alone won’t fix the problem. You’re putting new seals on a bad frame, and the seals will fail again within a year. That’s worth having a carpenter or door installer assess first.
A properly spec’d contractor for a straightforward weatherstripping job runs $75-$175 per door right now, with most of that being labor. If they’re quoting you over $200 for a single standard door with no frame damage, ask what’s included. It might be legitimate if they’re replacing the threshold too. It might not be.
I’d also say: if you have a steel or fiberglass entry door with a compression seal in a factory-routed channel and that seal is damaged, sometimes it’s easier to buy the manufacturer’s OEM replacement seal than to figure out the third-party equivalent. Therma-Tru and Pella both sell replacement seals by door model. The research here is mixed on whether third-party seals match as well, but in my experience the fit is tighter with OEM parts on newer doors.
Sources
- U.S. Department of Energy, Building Technologies Office: Air sealing guidance, including door and window infiltration data
- [American Society of Heating, Refrigerating and Air-Conditioning Engineers (ASHRAE)]: Residential infiltration standards; basis for the 25-30% heat loss figure cited above
- [M-D Building Products product specifications]: Technical data on door sweep gap coverage and material ratings
- [Pemko commercial door hardware documentation]: Automatic door bottom installation specs and gap tolerances
- [This Old House, technical library]: Field-tested installation guidance for residential weatherstripping types
Photo: Ksenia Chernaya via Pexels





