 Dana Morrison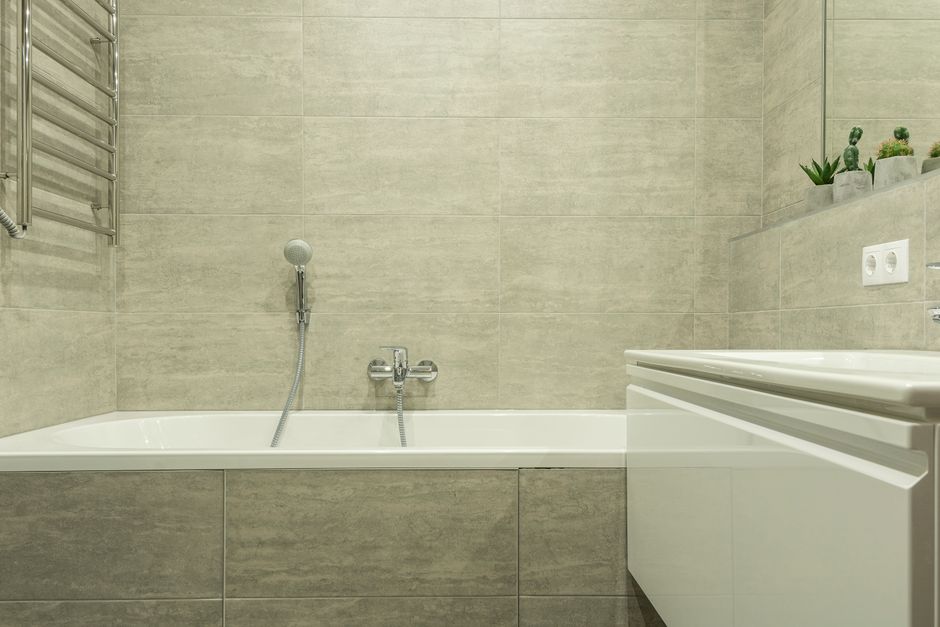
Shower grout fails in two ways, and most repair guides treat them identically. That’s the first mistake.
Cracked or crumbling grout in the field (the flat tile sections) is a different problem from failed grout at the corners and transitions. Treat them the same way and you’ll be regrouting the corners again in eight months, frustrated, wondering why nothing sticks. The fix isn’t the same because the material shouldn’t be the same. More on that in a minute.
The good news: this is genuinely one of the more satisfying DIY repairs you can do. The tools are cheap, the learning curve is short, and getting it right costs maybe $40 in materials. Getting it wrong costs a rotted subfloor and a $6,000 tile tear-out. So it’s worth doing correctly.
What You’re Actually Looking At
| Material | Joint Width | Use Case | Durability in Showers |
|---|---|---|---|
| Sanded Grout | > 1/8 inch | Field tile with wider joints | Good (with sealer) |
| Unsanded Grout | ≤ 1/8 inch | Field tile with narrow joints | Good (with sealer) |
| 100% Silicone Caulk | Any | Change-of-plane joints (corners, transitions) | Excellent |
Before you buy anything, spend two minutes diagnosing what you have.
Probe the grout with a key or a flat screwdriver. Solid grout resists; failing grout crumbles, sounds hollow, or pops out in chunks. If you’re finding soft, sandy grout that comes out easily, you’re looking at a moisture problem, an application problem, or both. Surface sealing over that is a waste of an afternoon.
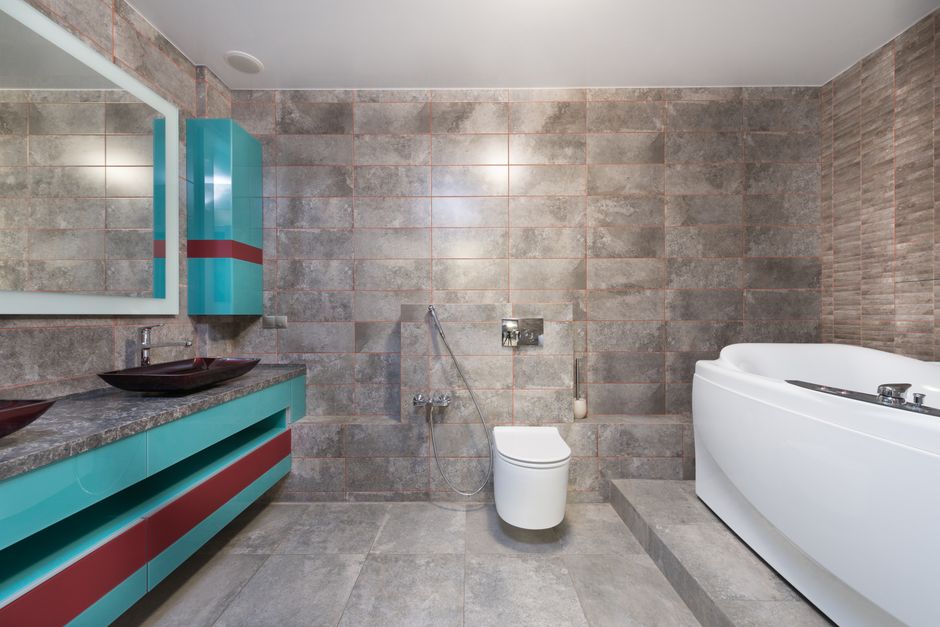
Check the corners next. The grout line where the wall meets the floor, where two walls meet, and where tile meets the tub deck are called “change-of-plane joints.” These locations flex. The house settles, temperature changes, the tub fills with 200 pounds of water and deflects slightly. Rigid grout in these spots will crack. Always. The correct material for these joints is 100% silicone caulk, not grout. If your installer put grout there, they did it wrong, and you’ll be back fixing it annually until you correct it.
Mold that appears to be in the grout is usually surface growth. Mold that’s visibly black through the grout, or behind a cracked tile, means water has already gotten past the tile assembly. That’s a different conversation involving a contractor and probably a moisture meter.
The Regrout Process (Field Tile)
This is the meaty part, and where people skip steps they shouldn’t.
What you need: A grout saw or oscillating tool with a grout removal blade, new sanded or unsanded grout (more on which in a second), a rubber grout float, a bucket, clean sponges, grout sealer, and patience. The Dewalt oscillating kit with grout blades runs about $80 at any big-box store. The manual grout saw is $8 and works fine for small areas; it’s just slower. For anything over about 20 square feet, the oscillating tool pays for itself in time saved.
Sanded vs. unsanded grout: If your grout joints are wider than 1/8 inch, use sanded. Narrower than that, unsanded. Most shower tile is unsanded territory. I’ve seen homeowners use sanded grout in a 1/16-inch joint and wonder why it crumbles within a year. The sand particles can’t compress into a tight joint properly.
The step most DIYers skip: remove enough old grout. You need to get down to at least 1/8 inch deep, preferably 1/4 inch, before applying new material. Grinding off just the surface and laying fresh grout on top of old is how you get repairs that look fine for six weeks and then crack off in sheets. The new grout has nothing to bond to.
Work in sections. Remove grout with the oscillating tool or manual saw, then vacuum out the dust thoroughly. A shop vac works; blowing it out with compressed air just redistributes it. Wipe the joints with a damp sponge before mixing the new grout. Bone-dry substrate will pull moisture out of the grout mix too fast and weaken the cure.
Mix the grout to peanut butter consistency. Not runny, not stiff enough that it drags. Apply it diagonally across the joints with the rubber float, packing it in. Work at about a 45-degree angle to the joint so you’re pushing grout in rather than dragging it out. Once the joints are packed, wait 15 to 20 minutes, then wipe with a damp (not soaking wet) sponge in circular motions. Three passes with a clean, wrung-out sponge gets the haze off without pulling grout out of the joints.
Let it cure 48 to 72 hours before using the shower. Apply a quality penetrating sealer after that, like Aqua Mix Sealer’s Choice Gold or TileLab SurfaceGard. Two coats. This isn’t optional for shower applications.
The Corner Joints: Why You’re Using Caulk
I’ll say it plainly: any grout in a change-of-plane joint in a shower is wrong. It will fail. The only question is when.
Remove the old grout from corners and transitions completely with the oscillating tool or a utility knife. Get it clean. If there’s old silicone in there, you have to remove it entirely before applying new silicone, because silicone won’t bond to old silicone. A silicone remover product like Goo Gone Caulk Remover, plus some mechanical scraping, gets you there. Don’t shortcut this.
The right material is 100% silicone caulk, color-matched to your grout as closely as possible. GE Supreme Silicone and Dow 786 are the workhorses here; they’re what tile setters have used for decades. The “kitchen and bath” caulks in squeezable tubes that Home Depot sells prominently are often latex-based with silicone added. They’re not the same thing and they won’t last the same way. Check the label: it needs to say 100% silicone.
Tape both sides of the joint with painter’s tape for a clean line. Apply the silicone in one continuous bead if you can manage it. Tool it with a wet finger or a caulk finishing tool, remove the tape immediately while it’s still wet, and leave it alone for 24 hours minimum. Silicone cures by exposure to air moisture, so a humid bathroom is actually fine. Don’t use the shower until it’s fully cured.
A common objection: “but the silicone never matches the grout perfectly.” True. It won’t be a perfect match. It’ll be close enough, and it won’t crack open in six months and let water into your wall. That’s the trade.
When to Stop and Call Someone
Sources
There’s a version of this repair that goes beyond DIY territory. If you remove grout and find tiles that move when you press them, the tile has debonded from the substrate. That means water has already been underneath. Removing those tiles will likely reveal damaged drywall or cement board, and at that point you’re doing a full wet area repair, not a grout touchup.
Mushy drywall, black staining on the substrate, or any give in the floor tiles near the drain all mean water intrusion that has to be addressed structurally before new grout or caulk goes in. Covering that with new grout is like putting a fresh bandage on an infected wound. You’re buying yourself maybe a year before the tile falls off the wall on its own.
My rule of thumb: if more than about 20 percent of your grout is failing, or if any tile moves, you’re better off having a tile contractor assess it. A consultation is usually free, and they’ll tell you honestly whether it’s a surface repair or a gut job. (Most of the time it’s the surface repair. But you want to know before you spend a weekend on it.)
A full shower regrout by a professional currently runs $300 to $700 for a standard 3x3 shower stall, depending on your market. If it needs new backer board, add $400 to $900. Those numbers hurt, but they’re a fraction of what water damage to the floor structure costs.
Photo: Max Vakhtbovych via Pexels