 Kim Reeves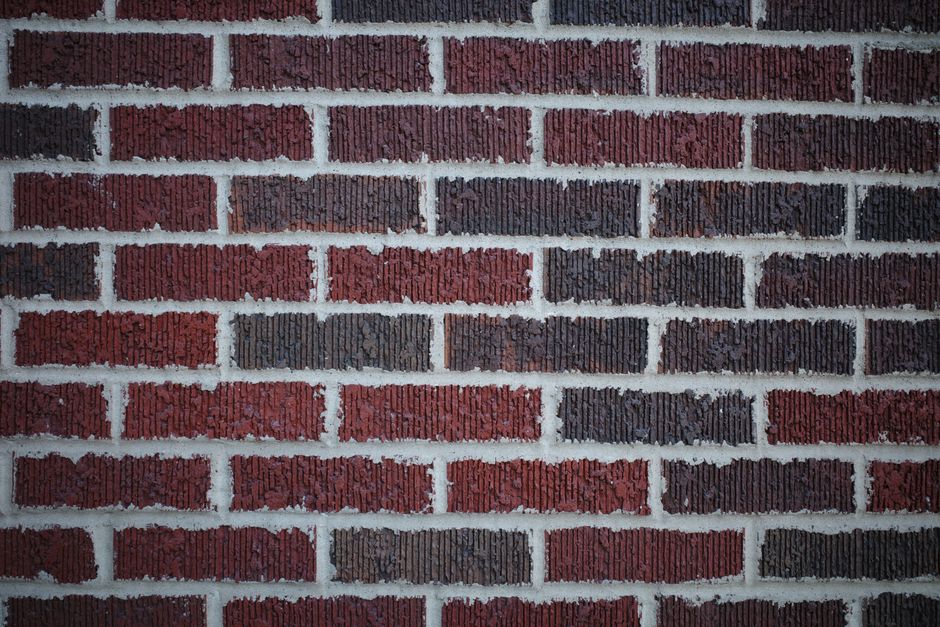
Tuck-pointing is one of those repairs that sounds scarier than it is, until you ignore it long enough that it actually becomes scary. I’ve watched homeowners let soft, crumbling mortar sit for two, three, sometimes five years because they assumed it was a big-ticket masonry job. In a lot of cases, they were right by the time they called me. What started as a weekend afternoon of grinding and patching had turned into spalling brick faces, water intrusion, and in one case a 1920s Chicago bungalow with a basement wall that had started to bow inward. A $200 repair became a $14,000 conversation.
So here’s what you actually need to know about repointing mortar joints: what it takes, where you can DIY it, what it costs, and the mistakes that derail this job fast.
First, Figure Out How Bad It Actually Is
Don’t assume. Grab a standard flathead screwdriver and drag the tip across several mortar joints. If mortar crumbles out easily or you can sink the blade more than 1/4 inch into the joint, you’ve got active deterioration that needs attention. If the joint resists and you’re just scratching the surface, you’re probably looking at cosmetic weathering that isn’t urgent.
Also watch what the mortar’s doing. Hairline cracks running through the joints are usually normal movement and settlement. Horizontal cracks along a single course of brick, or cracks following a stair-step pattern diagonally, can signal foundation movement or differential settling. That’s a different problem entirely. Repointing over active structural movement is like painting over rust. Get a structural engineer or experienced mason to look at anything that follows a consistent pattern across a wall before you touch it.
What you’re hoping to find is what I’d call “honest old age” deterioration: mortar that’s simply dried out, weathered, and lost its bond over decades. That’s fixable by a motivated homeowner on a Saturday.
What You Need (and What Not to Buy)
The biggest mistake I see DIYers make at the hardware store: grabbing a bag of standard Type S or Type N mortar mix and calling it good. Sometimes that’s exactly right. But if you’re working on a house built before roughly 1930, there’s a real chance the original mortar was lime-based, not Portland cement-based. Putting hard modern mortar into soft old brick is how you crack and spall the brick faces themselves. The mortar is supposed to be the sacrificial element, softer than the brick so it absorbs movement and moisture cycling. Get that backwards and you’ll be replacing brick, not just mortar.
I’ll be honest: identifying original mortar composition by eye isn’t easy. But if your brick is soft, handmade-looking, or irregular (common in pre-WWI construction), strongly consider using a Type O mortar or a dedicated repointing mix like SPEC MIX Repointing Mortar (pre-blended bags run $20-25 each at masonry supply houses). For 20th century brick in generally decent shape, Type S at around $12-15 a 60-lb bag at Home Depot or Lowe’s is usually appropriate.
Here’s what you’ll actually need:
- Angle grinder with a 4-inch diamond tuckpointing wheel (around $35-50 for the wheel; you may already have the grinder)
- Cold chisel and hammer for corners and tight spots the grinder can’t reach
- Stiff-bristle brush for cleaning out dust and debris
- Pointing trowel, 3/8-inch or 1/2-inch depending on your joint width
- Margin trowel or hawk for holding mixed mortar
- Water and a spray bottle
- Safety glasses and a dust mask, at minimum an N95 (old mortar dust is nasty)
One tool that surprises people: a tuck-pointing grout bag. It looks like a pastry bag and lets you squeeze mortar into joints without smearing it all over the brick face. Not strictly necessary, but it cuts cleanup dramatically, especially on textured or rough-faced brick.
The Actual Work
Start by removing the old mortar. This is the step nobody wants to do and everybody underestimates. You need to get out at least 3/4 inch of depth, ideally a full inch, to give new mortar enough surface area to bond properly. Shallow repointing fails within a couple of years because there’s not enough mechanical grip.
The angle grinder makes this faster, but it takes practice to cut straight down the center of the joint without touching the brick edges. I’d strongly recommend grinding a few test cuts on an inconspicuous spot first, maybe a side or back wall. Go slow. A damaged brick face is a much bigger problem than a slightly uneven joint.
Once you’ve ground out the joints (horizontal first, then vertical), blow out or brush out all the dust. Mortar doesn’t bond well to dusty, dry surfaces. Mist the area with water from a spray bottle before you pack in new material. Not soaking wet, just dampened.
Mix your mortar to a peanut-butter consistency. It should hold its shape when you press it but not be stiff or crumbly. Start small batches, especially in hot or dry weather. You’ve got maybe 30-45 minutes of working time before it starts to set.
Pack the mortar in layers if the joint is deep. First layer shouldn’t exceed about 3/8 inch; let it firm up slightly (15-20 minutes), then add the next layer. The final layer you want to strike (shape) to match the existing joint profile. Common profiles are concave (rounded inward, the most weather-resistant), flush, or weathered. Don’t know what profile your existing joints are? Look at an intact section closely and match it. A convex or “rodded” profile is the worst for weather because it sheds water onto the brick face.
Mist the finished work lightly for a day or two. Mortar curing too fast in heat or direct sun will crack. This is worth doing.
What It Costs If You’re Hiring It Out
| Item | Cost | Notes |
|---|---|---|
| Angle grinder diamond tuckpointing wheel | $35-50 | 4-inch wheel |
| Type S mortar mix | $12-15 | 60-lb bag at Home Depot/Lowe’s |
| Type O or repointing mortar | $20-25 | Per bag at masonry supply houses |
| Single chimney repoint (labor) | $300-800 | Midwest region |
| Labor rate (per sq ft) | $5-25 | Varies by region and accessibility |
Labor rates for tuck-pointing run from about $5 to $25 per square foot depending on your region, the accessibility of the wall, and how extensive the deterioration is. A single chimney repoint in the Midwest typically runs $300-800. A full exterior wall on a two-story brick home can easily hit $3,000-8,000. Get at least three quotes, and ask specifically whether they’ll be grinding to the right depth or just skim-coating over existing mortar. Skim-coating is faster and cheaper and will fail in a few years. Any mason worth hiring shouldn’t hesitate to answer that directly.
What surprised me when I started asking around more systematically: a lot of homeowners overpay significantly because they don’t realize how localized this market is. A mason doing primarily chimney work often charges more than a general masonry contractor who does walls all day. For big wall areas, I’d specifically look for residential masonry contractors rather than chimney-only specialists.
The other thing worth knowing: experience matters a lot more than licensing here. Most states don’t require a specific masonry license for tuck-pointing work. Ask for photos of past repointing jobs, not just general masonry. Mixing mortar consistency and packing technique are learned skills, and the difference between someone who’s done it for 15 years and someone who’s done it twice shows up within two or three winters.
When to Absolutely Call a Pro
Chimney repointing at the top of a stack isn’t a DIY job unless you’re genuinely comfortable on a roof and have the right staging or ladder setup. The fall risk isn’t worth saving $400.
Any wall where bricks have actually spalled (face popped off), shifted, or moved out of plane needs an experienced mason. You may need to remove and reset individual bricks, and doing that without understanding the structural logic of how the courses tie together can make things worse.
Interior basement walls with horizontal cracking, especially if the wall has any visible lean or bow: call a structural engineer first. Not a contractor. An engineer.
If you’re looking at more than about 50-60 square feet of deteriorated joints, especially overhead work or anything above the first story, the time and physical toll start to outweigh the savings. I’m all for DIY where it makes sense. This is one where the math changes pretty quickly once the scale gets up.
Disclosure: As an Amazon Associate, we earn a small commission from qualifying purchases at no extra cost to you. We only recommend products that genuinely support the topics covered in this article.
- Nutramax Cosequin DS Joint Supplement for Dogs (132ct) (~$36), The #1 veterinarian-recommended joint supplement brand, clinically studied for reducing joint pain in dogs.
- Nutramax Cosequin Senior Dog Soft Chews (60ct) (~$32), Senior-specific Cosequin formula with added Omega-3s, designed for aging dogs with joint and immune health needs.
Photo: Blue Arauz via Pexels
Sources
- Nutramax Cosequin DS Joint Supplement for Dogs (132ct)
- Nutramax Cosequin Senior Dog Soft Chews (60ct)
- Blue Arauz
Disclosure: As an Amazon Associate, we earn a small commission from qualifying purchases at no extra cost to you. We only recommend products that genuinely support the topics covered in this article.
- Nutramax Cosequin DS Joint Supplement for Dogs (132ct) (~$36), The #1 veterinarian-recommended joint supplement brand, clinically studied for reducing joint pain in dogs.
- Nutramax Cosequin Senior Dog Soft Chews (60ct) (~$32), Senior-specific Cosequin formula with added Omega-3s, designed for aging dogs with joint and immune health needs.





