 Kim Reeves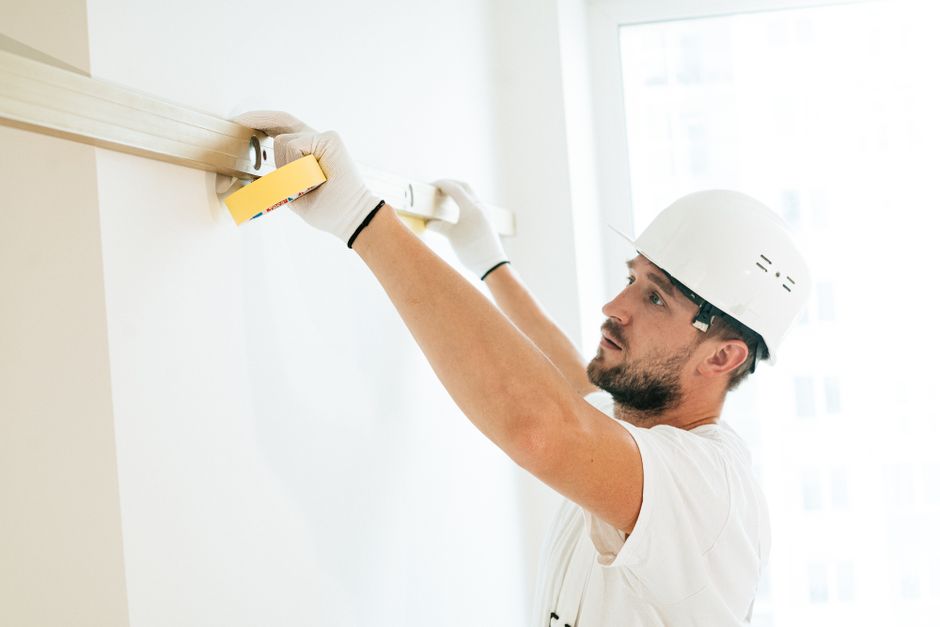
Your floor looks uneven, your tiles keep cracking, and every time you walk across the room you can feel the dips and bumps beneath your feet. Sound familiar? Before you can lay a beautiful, lasting tile floor, you need to tackle uneven floor leveling. The good news? With the right materials and a little patience, most homeowners can handle this themselves.
Skip this step and you’re looking at cracked grout, broken tiles, and repairs that’ll cost way more than the leveling compound you didn’t want to buy upfront. In this guide, I’ll walk you through exactly how to level an uneven floor before tiling, step by step.
Why a Level Floor Matters Before Tiling
Tiles are rigid. Unlike carpet or vinyl, they can’t flex around bumps or hollows in your subfloor. Even a small variation of more than 3/16 of an inch over a 10-foot span can cause tiles to crack, lippage (uneven tile edges), or loose grout joints.
Taking the time to properly level your floor protects your investment and ensures your finished tile looks professional and lasts for decades. It also makes the actual tiling process much easier and faster.
Tools and Materials You Will Need
Gather everything before you start. Nothing’s worse than mixing compound and then realizing you left the gauge rake at the store.
- Long straightedge or level (at least 6-10 feet)
- Tape measure and pencil
- Floor scraper or wide putty knife
- Shop vacuum or broom
- Self-leveling compound (also called floor leveler or floor underlayment)
- Primer/bonding agent (check your leveler brand’s recommendation)
- Mixing drill and paddle attachment
- Large bucket
- Gauge rake or smoother
- Rubber gloves and safety glasses
- Foam backer rod or perimeter tape (for edges)
- Patching compound or floor patch (for high spots and cracks)
Self-leveling compound typically comes in 50-pound bags and covers roughly 40-50 square feet at a 1/4-inch depth. Most items are available at your local home improvement store.
Pro Tip: Buy about 10-15% more self-leveling compound than you think you need. Having a little left over beats running short mid-pour when the product is already setting up.
Step 1: Assess and Map Your Floor
| Issue | Severity Threshold | Solution |
|---|---|---|
| Low spots | Greater than 1/4 inch | Self-leveling compound |
| High spots | Any height | Grind down or fill with skim coat |
| Cracks and gaps | Any size | Patching compound before leveling |
| Overall floor variation | More than 3/16 inch over 10 feet | Complete leveling required |
Photo by Kari Shea on Unsplash
Start by thoroughly inspecting your floor to understand exactly what you’re working with. Use a long straightedge or level and drag it slowly across the entire floor in multiple directions: north to south, east to west, and diagonally.
Wherever you see daylight under the straightedge, that’s a low spot. Mark every low area with a pencil or painter’s tape. Also note any high spots, which are areas where the straightedge rocks.
- Low spots greater than 1/4 inch need self-leveling compound
- High spots need to be ground down or filled with a skim coat
- Cracks and gaps need to be filled with patching compound before leveling
Take photos of your marked floor for reference. This mapping step saves a lot of guesswork later and helps you estimate how much material you’ll need.
Step 2: Prepare the Subfloor
Proper prep is everything. Self-leveling compound won’t bond well to a dirty, dusty, or waxy surface, so this step isn’t optional.
Begin by removing all furniture, baseboards if possible, and any old flooring material. Scrape away old adhesive, paint drips, and loose material with a floor scraper. Vacuum or sweep thoroughly until the entire floor is completely clean.
- Fill all cracks, holes, and gaps with patching compound and let it dry fully
- Sand down any high spots using a belt sander or angle grinder
- Re-check with your straightedge after sanding
- Vacuum one final time to remove all dust
⚠️ Safety: If your home was built before 1980, old flooring or adhesive may contain asbestos. Do NOT sand or scrape unknown materials without having them tested first. Contact a licensed asbestos professional if you’re unsure. Always wear safety glasses and gloves during all floor preparation work.
Step 3: Apply Primer or Bonding Agent
Photo by Scott Jacobsen on Unsplash
Most self-leveling compounds require a primer or bonding agent on the subfloor before pouring. This dramatically improves adhesion and prevents the leveler from drying too quickly, which can cause cracking or weak spots.
Using a paint roller or brush, apply the primer evenly across the entire area you plan to level. Pay extra attention to the edges and around any patched areas. Let the primer dry according to the manufacturer’s instructions, usually 30 to 60 minutes.
Don’t skip this. It’s the single most overlooked part of the leveling process and a leading cause of leveler failures when DIYers try to rush.
Step 4: Mix and Pour the Self-Leveling Compound
This is the most time-sensitive part. Self-leveling compound begins to set quickly, often within 15 to 30 minutes, so you need to work with focus.
Follow the mixing instructions on your specific product carefully:
- Pour the correct amount of clean, cold water into your bucket first
- Add the leveling compound powder slowly while mixing with a drill and paddle
- Mix for 3-5 minutes until you reach a smooth, lump-free consistency
- Pour immediately into the low areas you identified in Step 1
- Use a gauge rake or smoother to spread it evenly
The compound is self-leveling, meaning it’ll flow into low areas on its own, but you still need to guide it and make sure coverage is adequate. Work from the farthest point back toward the door so you don’t have to walk through the wet compound.
If you’re leveling a large room, consider having a helper to mix a second batch while you pour the first. Speed is critical here.
Step 5: Allow to Cure and Check Flatness
Photo by Possessed Photography on Unsplash
Once the compound is poured and spread, leave it alone. Resist the urge to walk on it or test it too early. Most products are dry enough to walk on in 4-6 hours, but you should wait a full 24 hours before tiling. Always check the manufacturer’s recommended cure time.
After the leveler has fully cured, drag your straightedge across the surface again. The floor should now be flat and smooth. If you notice any small ridges at the edges of your pour, lightly sand them down with a hand sander.
- A floor is considered level enough for tiling if variation is less than 3/16 inch over 10 feet
- For large-format tiles (12 inches or larger), aim for less than 1/8 inch over 10 feet
- If deeper areas remain low, a second pour may be needed after full cure of the first
Once you confirm the floor is level, you’re ready to start laying your tile. The hardest part is behind you.
You Are Ready to Tile With Confidence
Sources
Uneven floor leveling might feel intimidating, but it’s truly the foundation of a tile job you’ll be proud of for years to come. By taking the time to assess, prepare, prime, pour, and cure properly, you eliminate the number one cause of tile failures before they ever happen.
Take your time, follow each step carefully, and don’t rush the drying process. Your tiles, and your future self, will thank you. Now go ahead and create that beautiful, lasting floor you’ve been dreaming about.
Photo by Ronnie George on Unsplash





