 Kim Reeves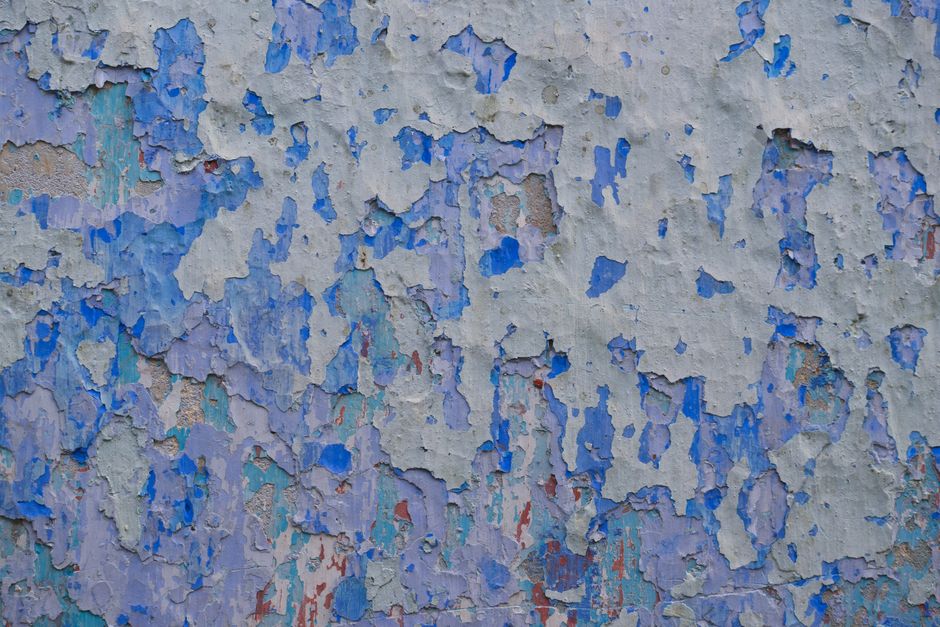
Peeling paint is one of those problems that starts small enough to ignore and then, somehow, you’re standing in your living room staring at a dinner-plate-sized chunk of wall that looks like a sunburned shoulder. I’ve seen it happen in houses that were painted six months ago. I’ve also seen walls that haven’t been touched in thirty years holding up just fine. The difference almost always comes down to prep and moisture, not paint brand.
Before you grab a scraper and a can of whatever’s on sale at Home Depot, spend five minutes understanding why it’s happening. Fix the wrong thing and you’ll be doing this again in a year.
Why Paint Peels (and Why the Reason Matters)
| Cause | Location Clue | Appearance | Primary Fix |
|---|---|---|---|
| Moisture | Near windows, bathrooms, exterior walls, basements | Soft drywall, staining, musty smell | Address water source before repainting |
| Adhesion Failure | Any area | Large sheet-like peeling, clean separation | Prep surface properly, prime before painting |
| Incompatible Layers | Throughout (older homes pre-1980s) | Widespread peeling, no moisture connection | Prime with shellac-based primer before latex paint |
Most peeling paint on interior walls traces back to one of three causes: moisture, adhesion failure, or incompatible paint layers. They look similar on the wall. The fix is very different.
Moisture is the most common culprit and the one people most often misdiagnose. Peeling near a window, in a bathroom, on an exterior wall, or in a basement almost certainly means moisture is involved. That could be a slow leak, condensation from temperature differences, or inadequate ventilation. Paint won’t stick to a damp substrate, and if you repaint without addressing the source, you’ll be right back here. Check for soft drywall, staining, or a musty smell before doing anything else.
Adhesion failure happens when new paint goes over a surface that wasn’t properly cleaned or primed. Grease in a kitchen, soap scum in a bathroom, or a glossy old paint job nobody scuffed before rolling on the new coat. The paint technically went on fine. It just never bonded. This kind mostly peels in sheets, sometimes pulling off cleanly in large pieces, which is actually a helpful diagnostic clue.
Incompatible layers show up most often in older homes. Oil-based paint under latex is the classic example. Latex is flexible; oil is not. As the wall expands and contracts with temperature and humidity, the latex wants to move and the oil beneath it doesn’t. Eventually something’s gotta give. If you’re in a house built before the mid-1980s and the peeling happens throughout with no obvious moisture connection, this is probably your issue.
Knowing which one you’re dealing with changes everything.
What You Actually Need Before You Start
Most DIYers underinvest here. They buy paint and a putty knife and show up unprepared for the real job.
For a solid repair you’ll need: a 3-inch or 4-inch flexible putty knife (the flexible part matters, a stiff one will gouge your drywall), 120-grit and 220-grit sandpaper or a sanding sponge, good primer, joint compound for skim coating over texture or divots, a paint tray, and a quality brush for cutting in. Large areas need a 9-inch roller and a couple of sleeves.
On primer: don’t skip it, and don’t use the cheap stuff. I’ve used Zinsser BIN shellac-based primer on problem areas for years. It bonds to almost anything, including glossy surfaces and light water stains, and costs around $25 to $30 for a quart at most hardware stores. If moisture is part of your problem, Zinsser Bulls Eye 1-2-3 is a solid latex-based option that resists mildew and still gives good adhesion. For oil-over-oil or any situation where you’re not sure what’s underneath, the shellac-based version is safer.
Budget-wise: a typical 10-by-12-foot room repair, assuming no major moisture damage, will run $80 to $150 in materials. That includes primer, joint compound, sandpaper, and a gallon of paint. Time investment is two days minimum, mostly waiting for things to dry.
The Repair Process, Step by Step
This is where the work actually happens.
Step 1: Remove all the loose paint. Don’t just scrape what’s obviously peeling. Use your putty knife to test the edges and go until you hit something genuinely stuck. If you only scrape the obvious stuff, you’re repainting over a section that’s waiting to let go. Be aggressive here. The more you remove now, the better your repair holds.
For larger or stubborn areas, a heat gun like the Wagner HT1000 ($30) softens the paint and makes removal easier without the muscle required for dry scraping. Keep it moving so you don’t scorch the drywall.
Step 2: Repair the surface. Once you’ve scraped, you’ll probably have a ragged edge where the peeling paint meets what’s still adhered. Sand it down with 120-grit until the transition is smooth. Then fill any divots, gouges, or low spots with lightweight joint compound. Sheetrock Plus 3 Lightweight ($12 for a small tub) dries faster and sands easier than standard compound. Apply it thin, let it dry fully, sand with 220-grit, and repeat if needed. You’re not building up a thick layer. You’re making the wall flat.
Matching texture after patching is the genuinely hard part. Orange peel works fine with a can of spray texture like Homax Orange Peel ($8 to $10). Knockdown is trickier and usually requires practice. If you’ve never done it before, test on cardboard first. Don’t practice on the wall.
Step 3: Clean before you prime. This step gets skipped constantly. Wipe the entire repaired area with a slightly damp cloth to remove all dust. In kitchens or near cooking surfaces, use a degreaser like TSP substitute first, rinse, and let it dry completely. You’d be shocked how many adhesion failures come from dust that somebody primed over without thinking.
Step 4: Prime. Roll or brush primer over the repaired area, extending it a few inches beyond the repair into the surrounding painted surface. This feathers the edge and prevents flashing (that visible dull spot where a patch was made). Let primer dry according to the label. Shellac-based primers like BIN are usually dry to touch in 45 minutes, but give it an hour before painting.
Step 5: Paint. Use a quality finish coat. This isn’t where to save money. Flat or eggshell in a living area, satin or semi-gloss in a bathroom or kitchen where you need washability. Benjamin Moore Regal Select and Sherwin-Williams Emerald are both excellent and both run about $70 to $80 per gallon. Yes, that’s real money. They cover better, so you often need one fewer coat, which offsets some cost. Two coats almost always look better than one, even over a well-primed repair.
When Moisture Is the Real Problem
I need to spend more time here because this is where people spend money and still fail.
If moisture is causing peeling, you cannot paint your way out of it. I’ve seen homeowners prime and repaint a bathroom ceiling three times in two years because nobody dealt with the exhaust fan venting into the attic instead of outside. The paint kept peeling. The fix wasn’t paint. It was a $40 flex duct run to the soffit vent.
Before repainting any moisture-affected area, find the source. Check for: a leaky pipe in the wall or ceiling above, inadequate ventilation (bathroom fans should run for 20 minutes after a shower and vent outside), condensation on exterior walls or near windows in cold climates, and in basements, ground-level moisture migrating through the foundation. A simple moisture meter like the General Tools MMD4E ($20) tells you whether drywall is actually holding moisture before you repaint.
Once the source is fixed, let the wall dry out for at least two weeks. Then prime with a moisture-resistant primer. Then paint.
If the drywall has gone soft, bubbled, or shows mold, paint and primer won’t fix it. That drywall needs to come out. This isn’t a case where you skim over it and hope.
Knowing When to Call Someone In
Sources
The vast majority of peeling paint repairs are genuinely DIY-able. But some situations warrant a professional.
If you find mold behind the peeling paint, stop. Don’t keep scraping and spreading it. Mold remediation in a contained area isn’t necessarily expensive ($500 to $1,500 for a small bathroom depending on your market), but doing it wrong creates a much bigger and more expensive problem.
If you’re in a home built before 1978 and doing significant scraping or sanding, test for lead paint first. A 3M LeadCheck swab costs about $10 at most hardware stores. If it tests positive, the EPA’s Renovation, Repair and Painting rule applies. You don’t necessarily have to hire a certified firm for minor repairs, but you do need to follow containment and cleanup procedures. The EPA website has plain-language guidance.
And if peeling happens throughout an entire house and you genuinely can’t identify the moisture source, a home inspector or a moisture specialist can save you a lot of wasted effort. Many waterproofing companies will do a free assessment.
Peeling paint feels overwhelming when you’re staring at a wall that looks like it’s molting. It rarely is. Most of the time it’s a straightforward repair that takes a weekend and the right sequence of steps. Get the moisture situation handled first, scrape more than you think you need to, and don’t shortchange the primer. The painting part is actually the easy part.
Photo: Saifee Art via Pexels





