 Maria Gonzalez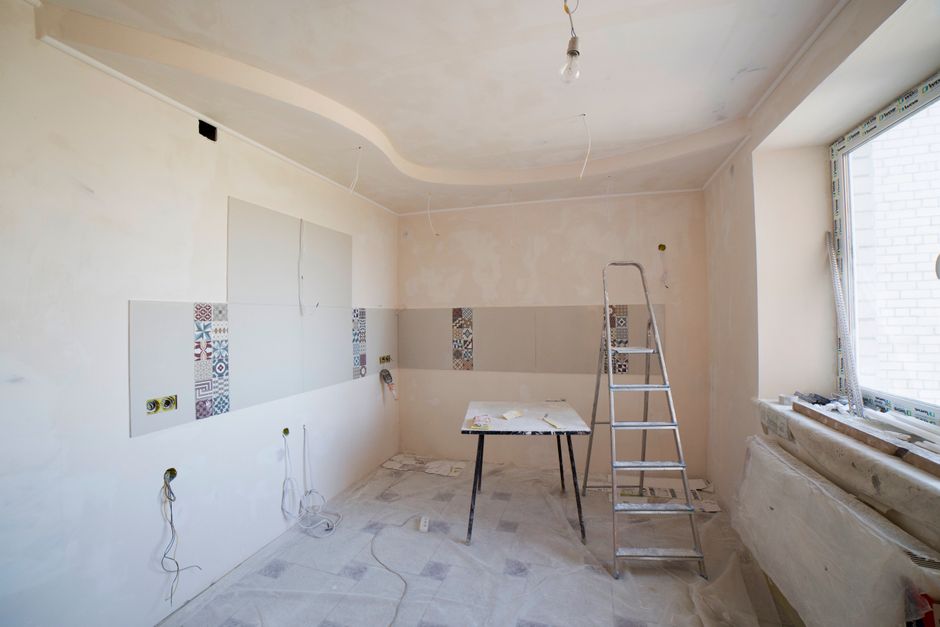
Your ceiling is drooping, and you can’t stop staring at it. That sagging section overhead, whether it’s a small bulge near the bathroom or a wavy mess in the living room, gets worse the longer you ignore it. A ceiling that sags today can collapse tomorrow, so catching it early matters. The good news: most homeowners can fix this themselves with some basic tools and a weekend of work.
What Causes a Sagging Ceiling?
Moisture is almost always the culprit. A leaking roof, a burst pipe, or condensation building up over time weakens the drywall or plaster until it can’t hold itself up anymore.
But moisture isn’t the only reason ceilings fail:
- Age. Plaster ceilings in older homes lose their grip on the lath after decades.
- Lazy installation. Drywall screws or nails spaced too far apart leave gaps where sagging starts.
- Heavy insulation piled on top, pressing down on the drywall like deadweight.
- The house settling or shifting over time, stressing the framing.
- Burst pipes or roof leaks that went unnoticed for months.
Here’s the thing: don’t fix the ceiling first. Find the leak and fix it. I’ve seen people patch a sagging ceiling only to watch the same spot fail six months later because they never touched the water source. You’ll just do the job twice.
⚠️ Safety: Look at the sagging area before you touch anything. If the drywall is heavily water-damaged, bulging dramatically, or the sag covers more than 4 square feet, call a contractor. A saturated ceiling can drop without warning. Always wear safety glasses and a hard hat when working overhead.
Tools and Materials You’ll Need
Get everything together first. Running back to the hardware store mid-project kills momentum.
Tools:
- Stud finder
- Cordless drill or screwdriver
- Drywall saw or utility knife
- 6-inch and 10-inch drywall knives (taping knives)
- Mud pan
- Sanding sponge or pole sander
- Ladder or scaffolding
- Safety glasses and dust mask
Materials:
- Drywall screws (1-5/8 inch for 1/2-inch drywall)
- Drywall repair patches or new drywall panels
- Joint compound (all-purpose or lightweight)
- Drywall tape (paper or mesh)
- Primer and ceiling paint
- Plaster washers (for plaster ceilings)
- Drop cloth to protect floors and furniture
Step 1: Diagnose the Extent of the Damage
How to Fix a Drywall Crack in Ceiling or Wall FOR EVER!!! Tutorial · Komar Project on YouTube
| Damage Type | Indicator | Action Required |
|---|---|---|
| Moisture-damaged drywall | Soft, spongy, or crumbling texture | Remove and replace panel |
| Detached but firm drywall | Panel pulled away from joists | Refasten with new screws |
| Severe water damage | Bulging dramatically, covers >4 sq ft | Call a contractor |
| Plaster ceiling separation | Plaster pulled from lath | Use plaster washers to pull tight |
Put on safety glasses and grab a flashlight. Press gently on the sagging spot with one finger. Does it feel soft, spongy, or does it crumble a little? That’s moisture-damaged drywall, and it has to be ripped out and replaced.
If it feels firm but just pulled away from the joists, you’re in luck, you can often refasten it instead. Use a stud finder to map out where the ceiling joists run. You’ll need them as anchor points for new screws.
Peek into the attic if you can. Look for roof leaks, ice damming, or water stains. Moisture problems don’t go away on their own, so sort this out completely before moving forward.
Step 2: Secure or Remove the Sagging Section
Got a panel that’s just detached? Pull it back up. Have someone hold it tight against the ceiling while you drive new drywall screws into the joists every 6 to 8 inches across the damaged zone.
Drive the screws until the head dimples slightly into the drywall without poking through the paper. Get the depth right, too shallow and joint compound won’t cover it; too deep and you lose grip.
If the drywall is water-damaged, crumbling, or soft, it comes out. Use a drywall saw to cut along the sag’s edges, extending your cuts to the center of the nearest joists on both sides. This gives your new panel solid wood to screw into. Haul the damaged piece away in a contractor bag.
Pro Tip: When you cut out damaged drywall, always extend your cuts to the midpoint of the nearest ceiling joist on each side. Your replacement panel needs full, solid edges to screw into. That’s what makes repairs last.
Step 3: Install the Replacement Drywall Panel
Measure the opening and cut a replacement panel to fit. For ceilings, use 5/8-inch drywall, especially in bathrooms where humidity is higher. Score the face with a utility knife and snap it away from the line.
Get the panel up into place. This is way easier with a helper or a rented drywall lift. Screw it to every joist it crosses, spacing fasteners every 8 inches. Dimple all screw heads slightly so joint compound can hide them later.
For plaster ceilings, use plaster washers (large, flat metal discs) with drywall screws to pull the plaster back tight. Space them 4 to 6 inches apart across the sag.
Step 4: Tape and Mud the Seams
Now blend the new panel into the existing ceiling. Spread a thin coat of joint compound over all seams and screw dimples with a 6-inch drywall knife. Press paper drywall tape into the wet compound along all seams and smooth it flat, squeezing out air bubbles.
Let it dry completely. That’s about 24 hours at normal room temperature. Then apply a second coat using a 10-inch knife, feathering the edges 6 inches beyond the seam. This feathering makes repairs invisible once painted.
Sand lightly between coats with fine-grit paper. Most repairs need a third, very thin finish coat spread even wider. Work under good light so you catch any bumps or ridges before they harden.
Step 5: Prime, Texture, and Paint
After the compound dries and you’ve sanded it smooth, prime the patch. Primer seals the joint compound and stops the repair from looking dull or showing through the paint.
If your ceiling has texture, orange peel, knockdown, whatever, you need to match it. Spray texture cans work fine for small areas. Test on cardboard first to get the pattern right.
Finish with two coats of ceiling paint in flat or matte, which hides imperfections better than satin or gloss. Feather the paint beyond the repair so there’s no hard line between old and new. A roller on an extension pole is faster than a brush and keeps you off a ladder.
When to Call a Professional
Small, dry damage? You can handle it. Widespread structural problems, mold, or an active roof leak? Stop and call a contractor.
Get professional help if you see:
- Sagging that spreads across multiple rooms or covers a huge area
- Black or green mold in or around the damage
- Ceiling joists that are cracked, warped, or rotting
- An older home that might have asbestos in the plaster or tiles
- The same spot sagging again within months of your repair
Houses built before 1980 sometimes have asbestos in ceiling materials. Don’t sand or disturb these without professional testing first.
FAQ
Q: Can I just paint over a sagging ceiling to make it look better?
No. Paint won’t stop the sag or address the underlying problem. The damage will keep spreading, and the paint will eventually crack and peel. You have to fix what’s underneath.
Q: How long does a drywall ceiling repair take?
A small repair typically takes 4 to 6 hours spread over 2 to 3 days if you factor in drying time between coats. Larger repairs or plaster work can stretch into a week.
Q: What’s the difference between joint compound and spackle?
Joint compound (also called mud) is thinner and better for taping large seams and feathering edges. Spackle is thicker and better for filling small holes. For ceiling repairs, use joint compound.
Q: Do I need to replace the entire ceiling if one section sags?
Not unless the damage spreads. Fix the sagging area, address the moisture source, and the rest of the ceiling stays put.
Q: Can I repair a plaster ceiling the same way as drywall?
Mostly, but plaster requires plaster washers to pull it back tight, and it’s less forgiving if you make mistakes. If your plaster is old or brittle, a contractor might be the safer choice.
Q: What if the sag comes back after I repair it?
That means moisture is still getting in. Find and fix the leak. A repair that fails is almost always a moisture problem you missed.
Photo: Sagging drywall ceiling with visible water damage and bulging in the plaster.





