 Paul Zhang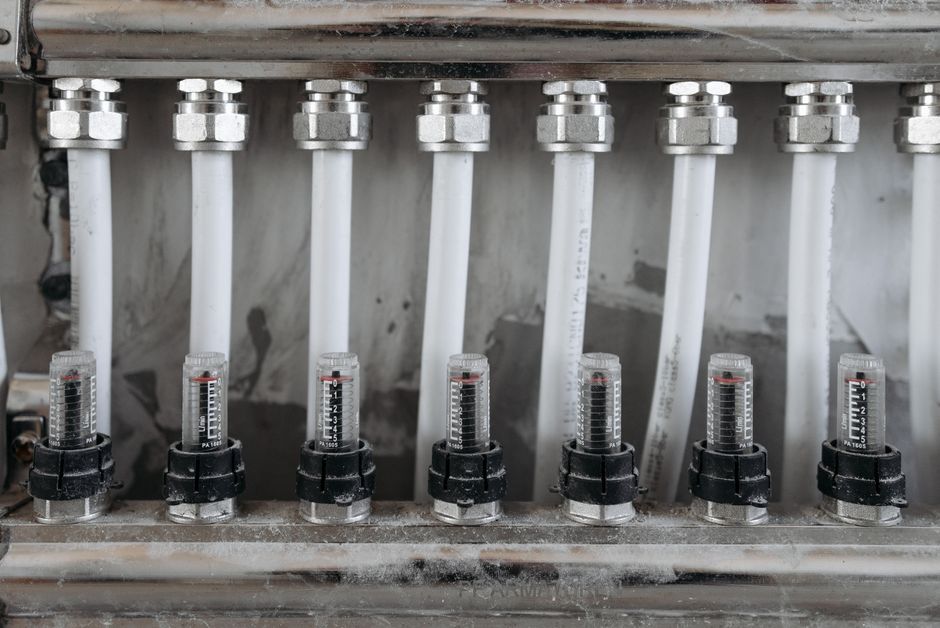
You found the leak on a Tuesday morning. Maybe it was a soft stain spreading across the drywall behind your shower, or water dripping into the cabinet below, or a puddle on the subfloor that you kept hoping was condensation. Whatever tipped you off, here you are, and you’re probably asking yourself some version of the same question I hear all the time: “Do I have to open up my wall for this?”
Sometimes yes. Sometimes no. Let me walk you through how to tell the difference, what’s actually going on in there, and what this repair looks like from start to finish.
Use this systematic checklist to identify your leak source and determine whether wall access is required before cutting into anything.
- Water-off test (24 hours): Shut off main supply, dry area completely, wait 24 hours. Leak stops → valve/supply issue. Leak continues → drain, pan, or grout failure (not valve-related).
- Check for existing access panel: Inspect opposite side of shower wall (closet, hallway, adjacent room). Panel present → proceed without drywall cuts.
- Identify valve brand/model: Remove handle trim and look for stamped manufacturer name (Moen, Delta, Kohler, Price Pfister). Photograph cartridge shape for parts matching.
- Pressure test supply connections: With water on, wrap toilet paper around visible fittings. Wet paper after 5 minutes → fitting leak (requires wall access for sweated joints).
- Cartridge drip test: Remove cartridge, turn water on briefly into bucket. Clean flow from both ports → cartridge was the problem. Water spraying from valve body → cracked body (full valve replacement needed).
- Decision threshold:
- Cartridge/O-ring failure only → no wall cutting, parts cost $15-$80
- Supply fitting leak → wall access required, repair cost $50-$150 in materials
- Cracked valve body → full valve replacement, wall access required, $150-$400 in materials
General information for comparison, confirm specifics for your situation.
First, Figure Out What’s Actually Leaking
| Leak Source | Wall Access Required | Parts Cost Range | Complexity |
|---|---|---|---|
| Cartridge/O-ring failure | No | $15-$80 | Low |
| Supply fitting leak | Yes | $50-$150 | Medium |
| Cracked valve body | Yes | $150-$400 | High |
This sounds obvious, but it trips people up constantly. Not every wet wall behind a shower means the valve itself is leaking. Spend 20 minutes diagnosing before you touch anything.
Turn off the water to the house and dry everything out as best you can. Then watch. If the moisture stops appearing and doesn’t come back for 24 hours, you’re almost certainly dealing with a valve or supply line issue, not a drain or grout problem. Water keeps showing up even with the supply off? You’ve got a different problem entirely, probably a failed shower pan or cracked tile with no connection to the valve.
Assuming it is the valve: the most common culprits are a worn cartridge, a failed O-ring on the valve body, a cracked valve body itself, or a loose connection on the supply lines. Cartridges and O-rings can often be replaced without cutting any wall. A cracked valve body or a loose sweated copper connection almost always means you’re opening something up.
Here’s the thing: if you can access the valve through a panel (some builders put access doors on the opposite side of the shower wall, in a bedroom closet or hallway), you’ve got a much easier job ahead of you. Go check right now before you do anything else.
The No-Demo Fix: Replacing the Cartridge
Probably 60 to 70 percent of shower valve leaks are cartridge failures. The cartridge is the internal mechanism that controls water flow and temperature. They wear out. The ceramic or rubber components inside erode, and the valve starts weeping even when it’s off, or drips from the handle area, or runs when it shouldn’t.
Cartridge replacement doesn’t require touching the wall at all, assuming your valve trim can come off normally.
Step 1: Shut off the water. If you have in-line shutoffs behind an access panel, use those. Otherwise, use the main shutoff.
Step 2: Remove the handle. There’s almost always a decorative cap over a screw, usually Phillips or Allen. Pop the cap, remove the screw, pull the handle. Keep everything organized.
Step 3: Remove the trim plate (escutcheon). It might unscrew, or pop off. There’s sometimes a retaining clip behind it.
Step 4: Brand matters here. Moen, Delta, Kohler, and American Standard all have completely different cartridges that don’t interchange. Look for a manufacturer name stamped on the trim or valve body. Write down your model number if you can see it.
Step 5: Moen cartridges pull straight out (after removing a retaining clip) and can usually be extracted with a Moen cartridge puller, about $8 at any hardware store. Delta ball valves have a whole separate set of internals including springs, seats, and a ball. Kohler pressure-balance cartridges come out similar to Moen but have their own retaining system. Don’t guess, look up your specific model on the manufacturer’s website or call their support line. Moen’s is actually excellent and free.
Step 6: Bring the old cartridge to the hardware store, or order the replacement by model number. Moen replacement cartridges typically run $20 to $40. Delta repair kits are usually $15 to $25. Kohler cartridges can hit $50 or more.
Step 7: Install the new cartridge, making sure it’s oriented correctly. Most have a tab or notch that only lets them sit one way. Reassemble in reverse order, restore water slowly, test.
If the leak was a simple cartridge failure, you just fixed it for under $50 and a couple of hours. No drywall, no tiles, no contractor needed.
When You Actually Have to Open the Wall
If the leak is coming from the valve body itself, a supply line connection, or a solder joint, you’re opening the wall. There’s no way around it.
A homeowner I worked with in Phoenix waited eight months after noticing a soft spot in the bathroom floor. By the time we opened the wall, we had rotted subfloor, compromised bottom plates, and early signs of black mold. What would have been a $400 repair became $3,200.
Choosing where and how to cut:
Your options are drywall on the non-shower side of the wall (if that’s accessible) or tile on the shower side. Cut the drywall if you possibly can. Tile work is expensive, matching old tile is nearly impossible, and waterproofing behind tile isn’t something to treat casually. A drywall patch runs maybe $50 in materials. A tile repair can run $300 to $800 depending on your market and whether your tile can be matched.
Use an oscillating multi-tool (a Fein or a DeWalt is what I reach for) to make a clean, controlled cut. Cut between studs. Mark your stud locations with a stud finder before you cut anything. The standard recommendation is a square or rectangular opening with at least one cut going down the center of a stud so you have something to fasten the patch to later.
What you’ll find:
The valve body is soldered or press-fit to copper supply lines, or it’s connected with PEX using push-fit or crimp fittings. If you’ve got a sweated (soldered) copper joint that’s failed, you’re either resoldering (which requires a torch, flux, and some experience) or you’re using a SharkBite push-fit fitting to bypass the bad joint. SharkBite gets mixed reviews in the trade, and I have some reservations about using them inside walls where you can’t easily inspect them, but for a homeowner doing a one-time repair they’re reliable if installed correctly and the pipe end is properly deburred.
If the valve body itself is cracked or corroded, you’re replacing the whole valve. This means cutting the supply lines and installing a new valve, which is a several-hour job involving soldering or crimping and getting the new valve positioned and plumb before patching. If you’re not comfortable with this, call a plumber. The stakes are high enough that I’d rather see you spend $250 on a professional than have a failed connection hiding inside a wall.
Patching the wall afterward:
Cut your drywall patch to fit, screw it to the studs, tape and mud the seams. If this is a bathroom wall, use moisture-resistant drywall (greenboard or cement board if it’s near water). Prime and paint. The whole patch job for a small access opening is a Saturday afternoon of work.
The Real Cost Breakdown
Sources
- Pavel Danilyuk
- Do I have to open up my wall for this? Sometimes
Cartridge replacement, DIY: $20 to $60 in parts.
Cartridge replacement, plumber: $150 to $300 total.
Supply line repair, DIY with basic plumbing skills: $30 to $80 in parts, plus drywall materials.
Valve body replacement, plumber: $400 to $900 depending on valve type and access difficulty.
Full repair with drywall and tile work by a contractor: $800 to $2,500 depending on tile matching, damage extent, and your local market.
The DIY savings are real. But only if you stop when you’re in over your head. The most expensive mistake I see is a homeowner who starts the job, gets stuck at the soldering step, leaves the water off for two weeks, and eventually calls a plumber who now has to undo the partial work first.
Get the diagnosis right before you commit to any of this. The cartridge fix is genuinely accessible for most people willing to take their time. The in-wall work is where you need to be honest about your skill level. There’s no shame in calling a plumber for the valve replacement and doing the drywall patch yourself. That’s how you get the job done right without paying twice.
Photo: Pavel Danilyuk via Pexels





